4.2 Gigabytes, or: How to Draw Anything
In our world, we can do anything that we want to do here. Any old thing.
- Bob Ross, The Joy Of Painting Season 29 Episode 1
Watching a vibrant Seattle sunset the other day, my imagination started running. The otherworldly hue of the sky evoked something from science fiction. The hazy orange-purple was mesmerizing.
I envisioned a massive, alien object hovering over a long-abandoned Seattle, with a burning orange sky, and buildings overgrown as nature reclaimed the city.
Later that night, I spent a few hours creating the following image:
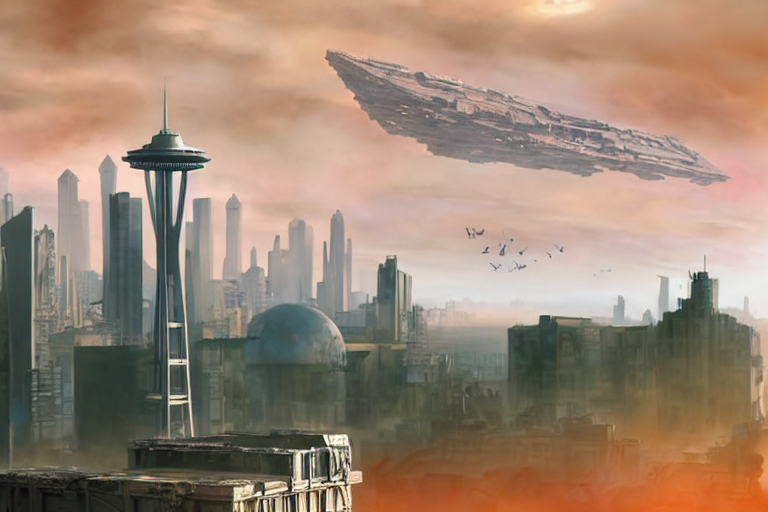
You’ll have to forgive the somewhat low resolution - my GPU only has 12GB of memory, unfortunately.
Since I’m clearly a highly-skilled artist with literally dozens of minutes of experience, I thought I would share with you how I created the above masterpiece.
Step 1: the sky
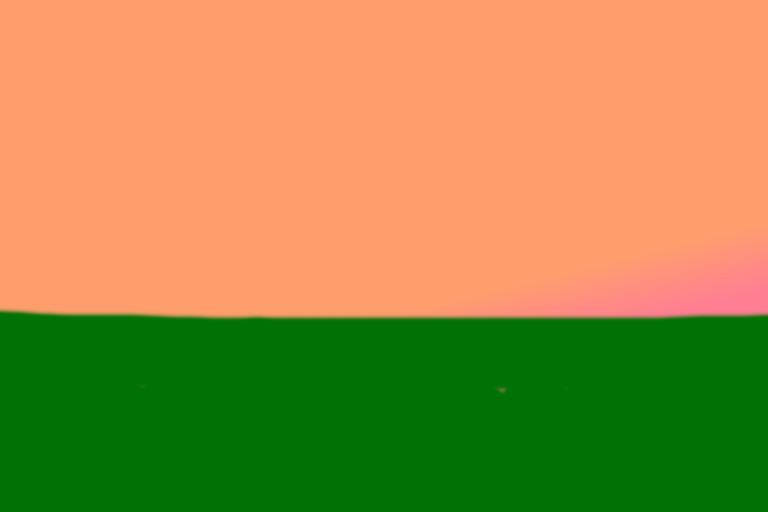
Let’s start with that burning orange sky. A nice little gradient will do.

I think that looks nice. It matches the hues in my mental image.
Step 2: the ground
Now we need the ground. We’ll be creating a nice old city scene, but I like to start with green for the ground, and cover it up with buildings later.
Step 3: the background
There are two things any image of Seattle needs: the Space Needle, and Mount Rainier.
Let’s get that friendly mountain in there.
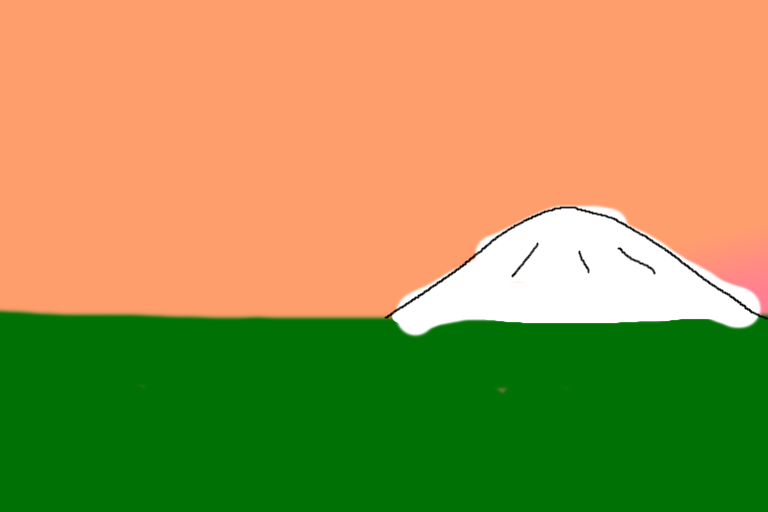
Beautiful.
Step 4: the foreground
I think some nice warm fall colors would be great for livening up the foreground. Let’s add those somewhere near the bottom.
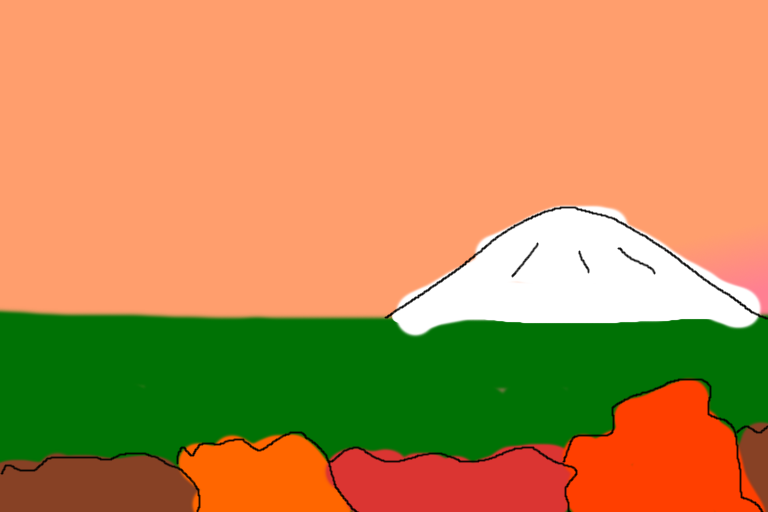
It’s okay if these blobs don’t look perfectly like trees. We can always change our minds about what we want them to be later.
The big thing that we try to teach you here is to enjoy what you’re doing and have fun.
- Bob Ross, The Joy Of Painting Season 14 Episode 1
Step 5: the city
Now lets get those buildings in there, as many as you feel like.
I like to offset the Space Needle a bit so it contrasts with Mount Rainier.
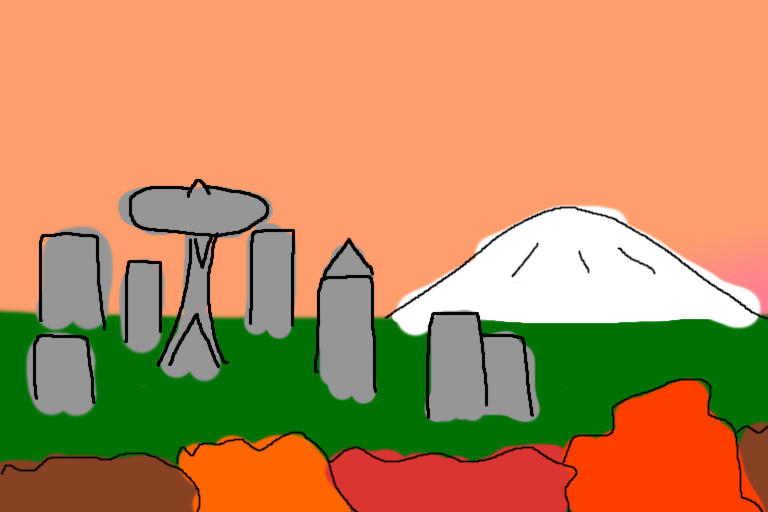
This is really coming along nicely.
Step 6: stable diffusion round 1
Now that we have our beautiful rough drawing, let’s run it through Stable Diffusion img2img and get ourselves a nice output.
I recommend you sample a few different seeds, and pick whichever one you like most.
It can be best to start simple. Instead of overwhelming the prompt with our full request (Alien spaceship, burning orange sky, overgrown buildings) let’s just get a happy little painting of Seattle that we’ll build on top of. You can keep the ddim_steps low, around 50. We’ll crank that up more toward the end.
scripts/img2img.py –n_samples 1 –n_iter 1 –prompt “Digital fantasy painting of the Seattle city skyline. Vibrant fall trees in the foreground. Space Needle visible. Mount Rainier in background. Highly detailed.” –ddim_steps 50 –seed 47004 –scale 7 –strength 0.80 –init-img step5.png
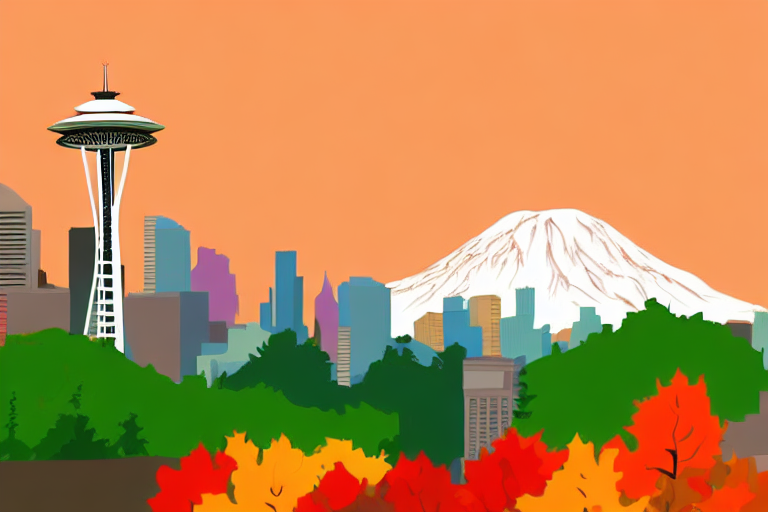
I like this output, but I’m not too happy about the Space Needle drifting left. Since it seems to float around with different seeds, let’s just keep it, and later on pick a seed that positions it better.
We don’t make mistakes. We have happy accidents.
- Bob Ross, The Joy Of Painting Season 3 Episode 5
My preference is to give a high “strength” value in the first round, to really let Stable Diffusion use its imagination. If it goes too wild (for instance, by adding multiple copies of the Space Needle), tone down the strength.
This can take some experimentation, and not all seeds will give perfect results. In my experience, if you try ~10 seeds, you’ll probably have one or two that you really like.
Step 7: make it post apocalyptic
Now let’s take this beautiful city and turn it into ruins.
Since the previous image is very clearly the Seattle skyline, we can de-emphasize “Seattle” in the next prompt. We’ll still mention it, to prevent Stable Diffusion from drifting too far, but more emphasis will be given to the newly-introduced part, which is the “post-apocalyptic” aspect.
scripts/img2img.py –n_samples 1 –n_iter 1 –prompt “Digital Matte painting. Hyper detailed. City in ruins. Post-apocalyptic, crumbling buildings. Science fiction. Seattle skyline. Golden hour, dusk. Beautiful sky at sunset. High quality digital art. Hyper realistic.” –ddim_steps 100 –seed 47200 –scale 9 –strength 0.80 –init-img inputs\step6.png
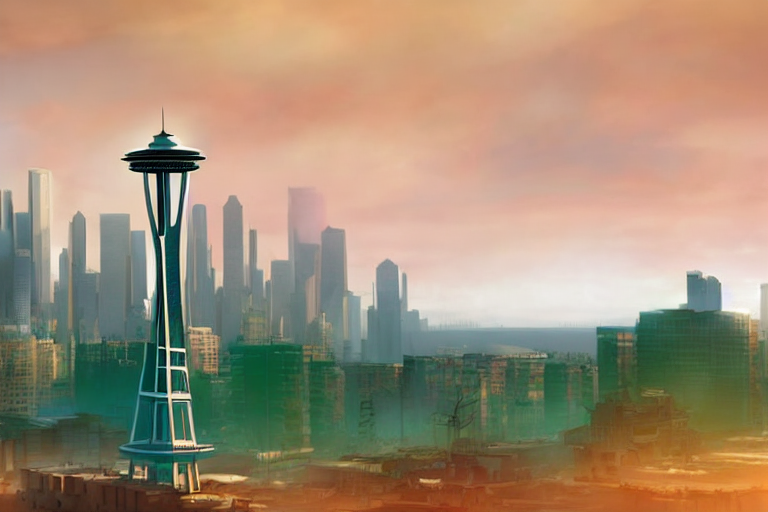
Right away you’ll notice a few things:
The Space Needle moved back to its rightful home, around the 1/3rd line of the image.
Mount Rainier is gone, and so are the trees from the foreground.
If we wanted to keep those, we could. Simply update the prompt to mention those things, and perhaps turn down the “strength” property to 0.70, to prevent Stable Diffusion from taking too many creative liberties.
However, I quite like this “creative choice” by Stable Diffusion. From this viewpoint, the trees would be out of place. And there’s so much haze that Mount Rainier would certainly not be visible. Plus, the warm color of the trees became an eerie glow, and the green ground became overgrowth. So I find this change to be an improvement.
A brief note about prompts
If you browse around any community focused on image generation, you’ll notice many (most?) prompts will invoke the name of a real artist.
For example, this creation, which uses the prompt:
gigantic extraterrestrial futuristic alien ship landed on the kingdom of Julius Caesar, roman historic works in brand new condition, not ruins, hyper-detailed, artstation trending, world renowned artists, historic artworks society, antique renewel, good contrast, realistic color ,cgsociety, by greg rutkowski,gustave dore, Deviantart
(emphasis mine)
It seems like adding the names of specific artists really does improve the output.
However, I feel a bit uneasy doing this. Is it illegal? Certainly not. Is it unethical? …probably not? But it still feels a bit wrong to me, somehow.
The outputs from this model are so good that a reasonable person searching for “Greg Rutkowski’s art” might stumble upon results that include both genuine and AI-generated works. And I feel like I don’t want to contribute to that. In fact, given that an AI model can create a Greg Rutkowski lookalike in moments, while a real Greg Rutkowski probably takes many hours of work, it’s not hard to imagine that one day soon, a search for his work will yield more AI-generated images than real ones. This is a bit off putting to me.
To be sure, one day soon this tech will be so ubiquitous that people would expect to see AI-generated images in that search result. But as it stands, I’d prefer to let Stable Diffusion create art without guiding it to copying a specific artist.
Yes, this is a quaint concern, given how this tech can and will be used for much, much worse things. But here in August 2022, I’ll leave the artists out of it.
Having said this, the next section may seem hypocritical, since I explicitly guide the model to build something like a Star Wars ship. In this case, I believe Star Wars has been so engrained into popular culture over the last 40+ years, that using its likeness for inspiration is not a sin.
Step 8: the spaceship
Here’s our creation again:

You might be tempted to draw the spaceship directly on the output.
And I encourage you to try that! Have fun and experiment.
But from what I’ve learned, Stable Diffusion isn’t great at “mixing” different qualities. It gets confused if you have an immaculately rendered Space Needle and a childish MS-paint spaceship in the same image.
So let’s keep working in layers and compose the image little by little.
Here’s my amazing spaceship:
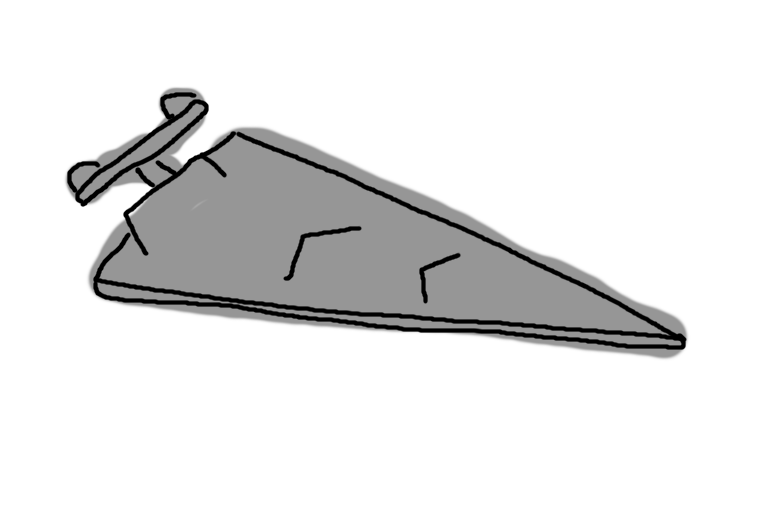
Apologies to George Lucas :)
It will serve as a great starting point, and we can evolve on the idea from there.
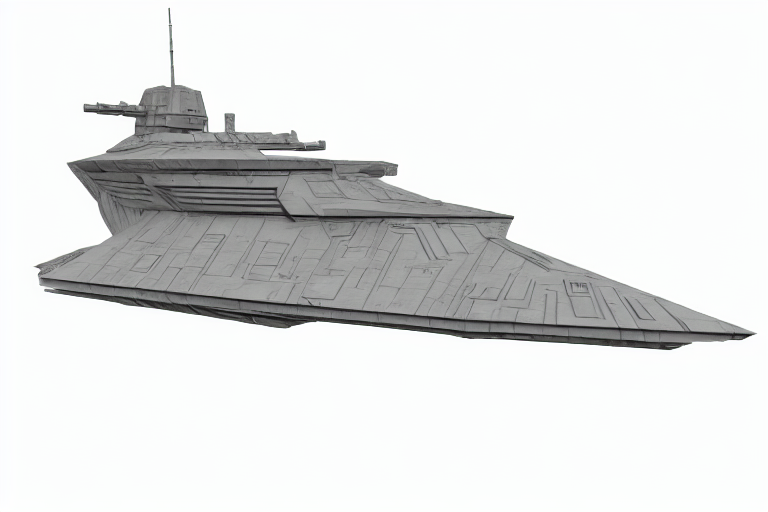
scripts/img2img.py –n_samples 1 –n_iter 1 –prompt “Digital fantasy science fiction painting of a Star Wars Imperial Class Star Destroyer. Highly detailed, white background.” –ddim_steps 50 –seed 47001 –scale 7 –strength 0.80 –init-img step7.png
Now let’s simply drop the spaceship directly on the image:
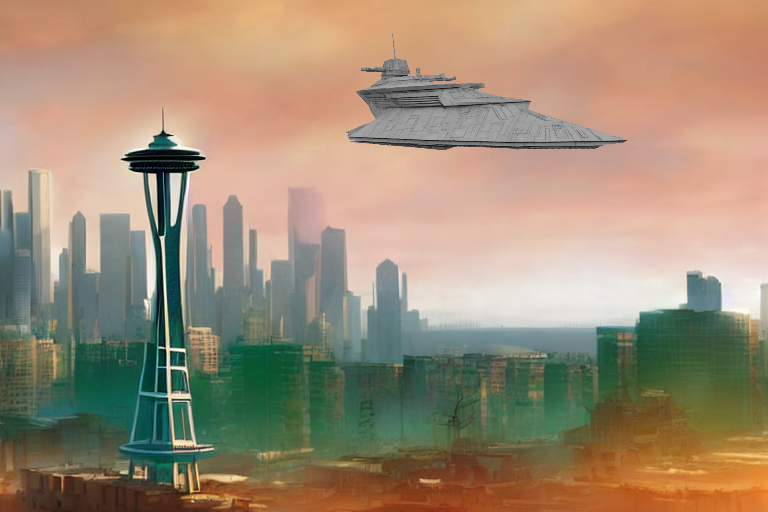
Looks a bit out of place. So let’s “smooth it out” by running through Stable Diffusion again.
Step 9: stable diffusion pass 2
This pass through Stable Diffusion will do two things:
- blend the ship into the image
- re-interpret the ship given the context of the image
If you were very attached to the exact ship from step 8, you could run the pass with a very low strength, to prevent Stable Diffusion from changing it too much.
However, I enjoy turning the strength to around 0.80 and seeing what it comes up with. It has a tendency to surprise me by showing me something better than what I had envisioned.
So let’s run this through a few seeds and see what we get.
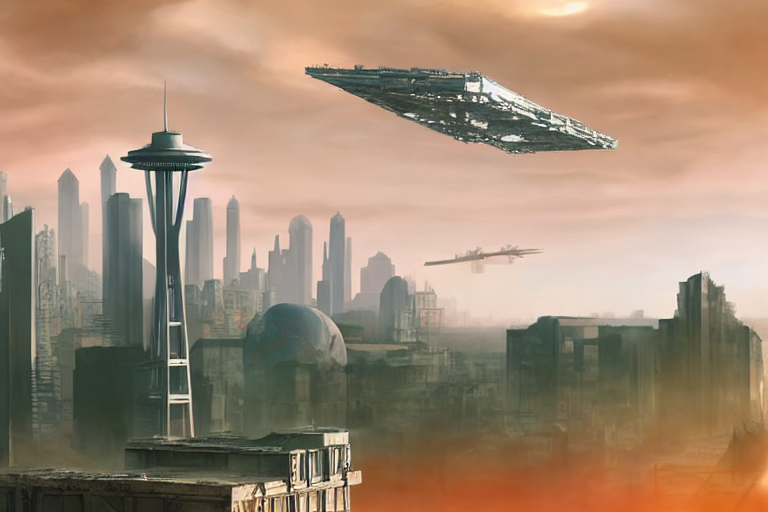
In my output, I got some images with a great ship, some images with a great city, but no images with a great ship and a great city.
Great city, so-so ship:
Great ship, so-so city:
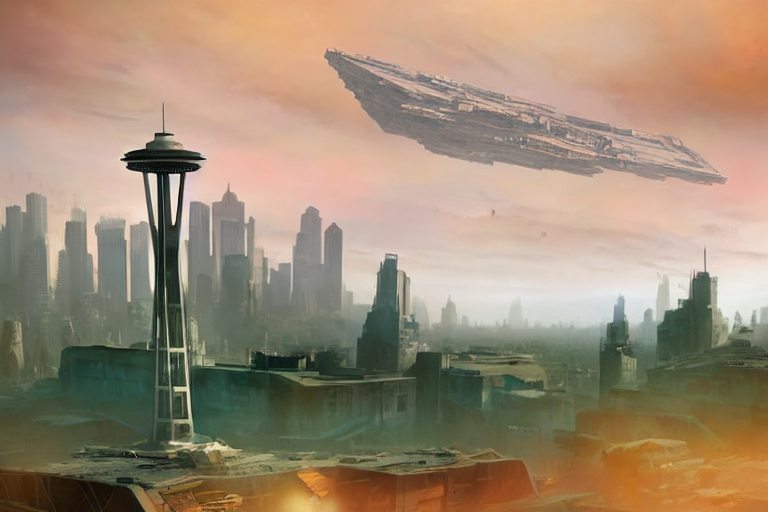
So… let’s just combine them!
On this canvas, you’re the creator, so you make the decision to put whatever you want in your world.
- Bob Ross, The Joy Of Painting Season 10 Episode 12
We’ll take the awesome ship, paste it onto the awesome city, and run a pass with low strength to blend them without changing either one too much.
Here’s the “combined” image from a quick and dirty gimp session:
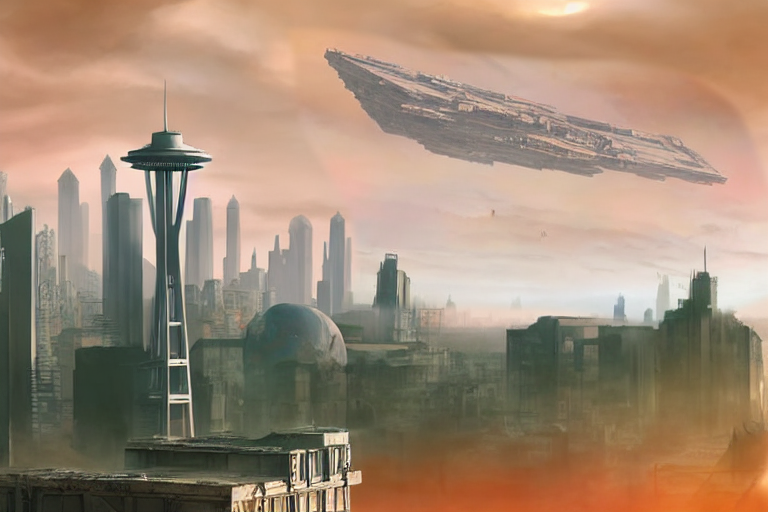
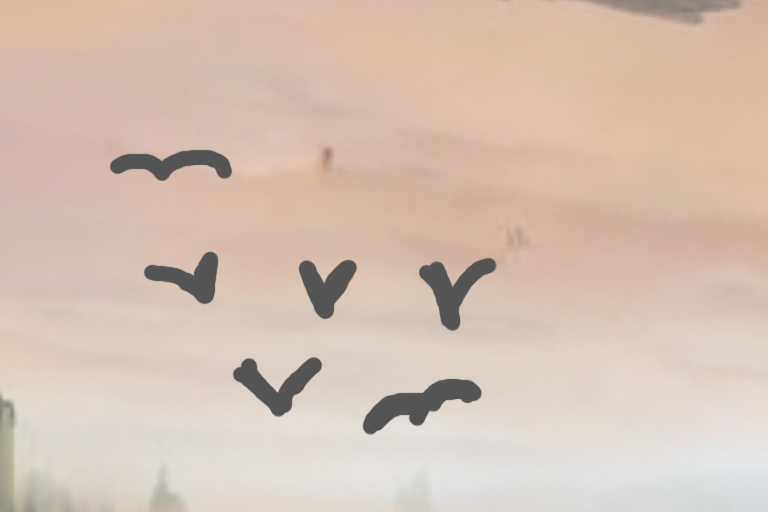
While we’re here editing in gimp, maybe it would be nice to add some happy little birds flying into the distance, right in the middle of the image.
So let’s extract that part of the image, and draw some birds on it:
Then let Stable Diffusion do its magic:
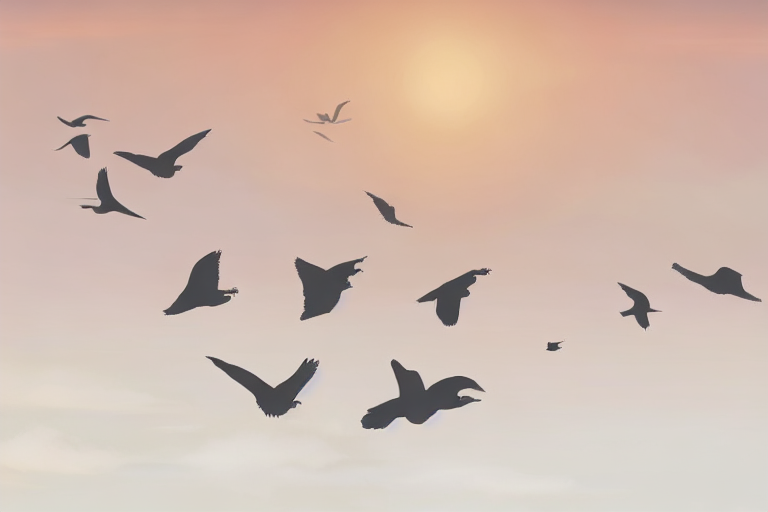
scripts/img2img.py –n_samples 1 –n_iter 1 –prompt “Digital Matte painting. Hyper detailed. Brds fly into the horizon. Golden hour, dusk. Beautiful sky at sunset. High quality digital art. Hyper realistic.” –ddim_steps 50 –seed 47407 –scale 9 –strength 0.75 –init-img step14a.png
Put it all together in one copy-pasted composite:
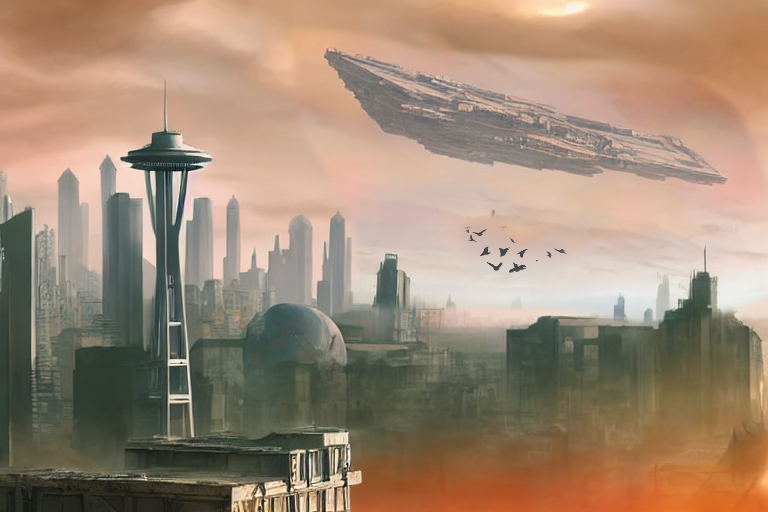
And finally, one last pass at low strength to blend it all together, creating our masterpiece:

scripts/img2img.py –n_samples 1 –n_iter 1 –prompt “Digital Matte painting. Hyper detailed. City in ruins. Post-apocalyptic, crumbling buildings. Science fiction. Seattle skyline. Star Wars Imperial Star Destroyer hovers. Birds fly in the distance. Golden hour, dusk. Beautiful sky at sunset. High quality digital art. Hyper realistic.” –ddim_steps 100 –seed 47413 –scale 9 –strength 0.20 –init-img step14c.png
Notice the low strength - 0.20 is all it takes to blend everything together nicely.
Final thoughts
Don’t worry, the Bob Ross bit is over now. I barely stuck to it anyway. Please don’t ctrl+f “nice”.
Anyway.
4.2 gigabytes.
4.2 gigabytes.
That’s the size of the model that has made this recent explosion possible.
4.2 gigabytes of floating points that somehow encode so much of what we know.
Yes, I’m waxing poetic here. No, I am not heralding the arrival of AGI, or our AI overlords. I am simply admiring the beauty of it, while it is fresh and new.
Because it won’t be fresh and new for long. This thing I’m feeling is not much different from how I felt using email for the first time - “Grandma got my message already? In Florida? In seconds?” It was the nearest thing to magic my child-self had ever seen. Now email is the most boring and mundane part of my day.
There is already much talk about practical uses. Malicious uses. Downplaying. Up playing. Biases. Monetization. Democratization - which is really just monetization with a more marketable name.
I’m not trying to get into any of that here. I’m just thinking about those 4.2 gigabytes. How small it seems, in today’s terms. Such a little bundle that holds so much.
How many images, both real photos and fictional art, were crammed through the auto-encoder, that narrower and narrower funnel of information, until some sort of meaning was distilled from them? How many times must a model be taught to de-noise an image until it understands what makes a tiger different from a leopard? I guess now we know.
And now I suppose we ride the wave until this new magic is both as widely used, and boring, as email. So it goes.